Meet The Lipstick Plant
In my previous article, I gave you general information about Lipstick Plant, this time I will tell you about lipstick plant care tips.
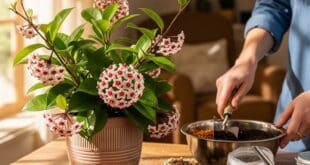
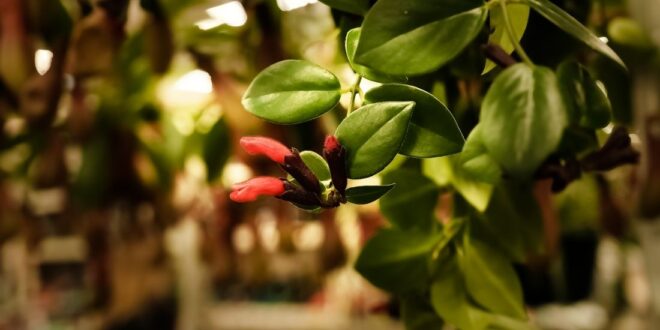
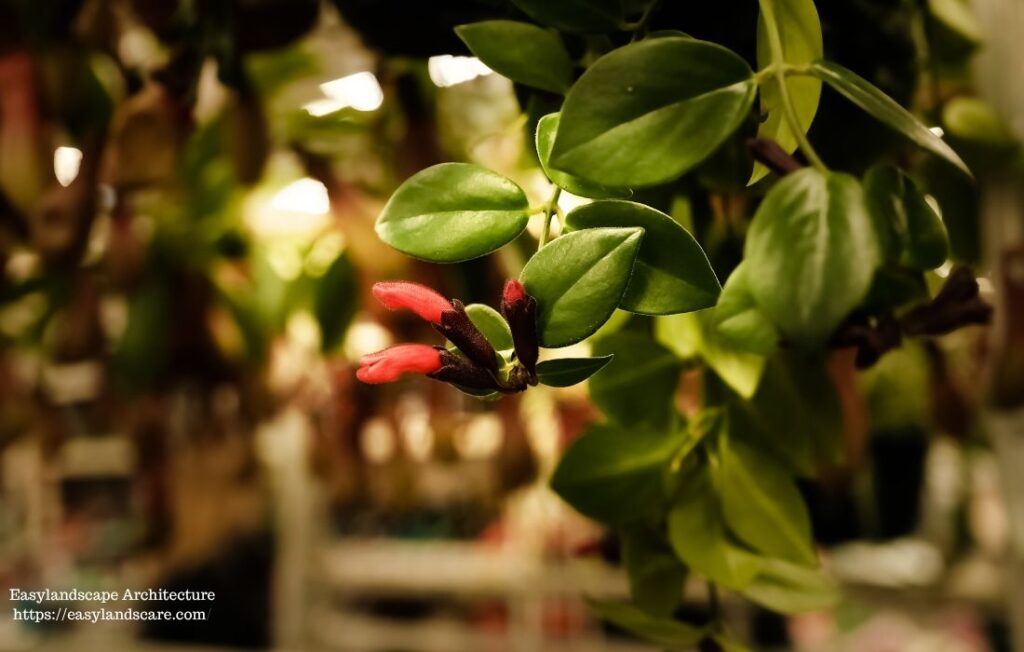
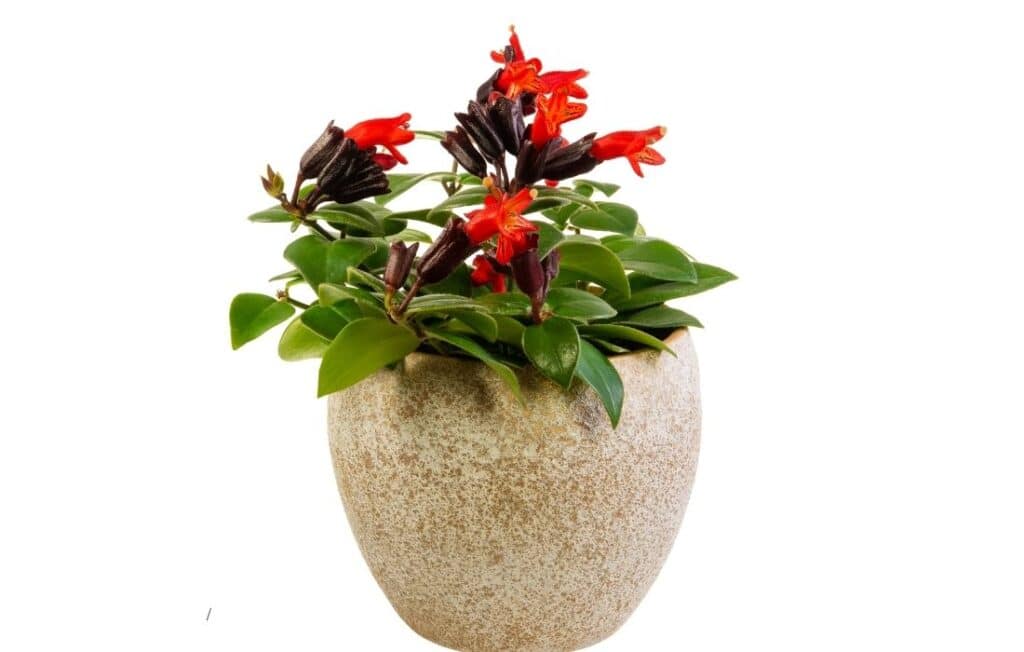
The Lipstick Plant, known in the literature as Aeschynanthus radicans, is one of my favorite plants. With its dark, tube-like calyces and vibrant, fiery red (or sometimes orange, yellow, or even pink!) flowers, it resembles a tube of lipstick. That’s exactly where it gets its common name from.
Its native habitat is the warm, humid forests of Southeast Asia. Due to its trailing stems and foliage, I recommend growing it in hanging baskets. When grown this way, it offers a much more decorative appearance. Especially during the spring months, it will beautifully adorn your balcony or terrace.
Of course, if you also follow my upcoming tips on lighting, potting, and watering, it will grow much healthier.
If you’ve been searching for a flowering houseplant that brings a burst of tropical flair and unique beauty, the Lipstick Plant is definitely it. It’s truly a conversation starter, and while it asks for a little specific attention, it’s incredibly rewarding when those stunning blooms start to appear. Let’s dive into how to give your Lipstick Plant the best possible home. If you’re ready, let’s dive into the essential tips for lipstick plant care.
Why You’ll Love Having a Lipstick Plant
Beyond its striking resemblance to a cosmetic item, the Lipstick Plant brings so much joy to your home:
- Distinctive Blooms: Honestly, it’s unlike anything else you’ve seen! The way those bright blooms emerge from the dark calyces is just fascinating.
- Lush Trailing Foliage: Even when it’s not in bloom, its glossy, somewhat succulent-like leaves form beautiful cascades. It’s a living piece of art!
- Perfect for Hanging: Its natural vining habit makes it ideal for showing off in hanging planters, freeing up valuable shelf space.
- Relatively Easy Keeper: Once you understand its basic needs, it’s quite forgiving. It’s not a plant that needs constant fussing over, which is a big plus for busy plant parents.
- A Touch of the Tropics: It instantly transforms your indoor space into a lush, jungle-like retreat.
Now, let’s get into the nitty-gritty of essential lipstick plant care.
The Sunny Side of Life: Light Requirements in Lipstick Plant Care
Think about where the Lipstick Plant comes from – dense, tropical jungles. In nature, it grows under the canopy of larger trees, getting plenty of light but not harsh, direct sun. That’s exactly what you want to mimic in your home.
- Bright, Indirect Light is Gold: This is the sweet spot for your Lipstick Plant. Place it where it gets lots of light throughout the day, but it’s filtered, like through a sheer curtain, or from a window that doesn’t get direct afternoon sun.
- Morning Sun is Okay, Afternoon Sun is Not: An east-facing window is often perfect because it provides gentle morning sun. A west-facing window can be suitable, but using a sheer curtain is essential to shield the plant from the strong afternoon sunlight. Direct, strong sun will burn its leaves, turning them crispy and brown, and can also fade the vibrant colors of the flowers.
- Too Little Light? If your Lipstick Plant isn’t getting enough light, you’ll notice a few things. The stems will stretch out and look “leggy” (long and sparse), the leaves might be smaller, and most importantly, it won’t produce many (or any!) of those fantastic “lipstick” flowers. The solution for healthy lipstick plant care in terms of light is always bright, indirect exposure.
A Thirsty Tropical: Watering Tips for Effective Lipstick Plant Care
This is where a lot of new plant parents can get tripped up, but it’s simpler than you think! Lipstick Plants like consistent moisture, but absolutely hate sitting in soggy soil. Their roots need to breathe.
- Check the Soil: The most reliable way to decide if your plant needs water is by touching the soil. Insert your finger about an inch into the soil—if it feels dry, it’s time to water. If there’s still moisture, hold off for a bit.
- Water Thoroughly: When you do water, really give it a good soak. Gently water the soil until excess moisture begins to drain from the bottom of the pot. This ensures all the roots get a drink. Don’t let the pot sit in that drained water; always empty the saucer.
- No Soggy Feet! Leaving your Lipstick Plant in standing water is a recipe for root rot, which is a common killer of many houseplants. Ensure your pot has drainage holes!
- Winter Watering: When the days get shorter and temperatures drop in winter, your plant naturally slows down its growth. This means it needs less water. You can let the top two or three inches of soil dry out between waterings during these cooler months. Mastering this step is essential for maintaining healthy lipstick plant care.
Feeling the Steam: Humidity Preferences
Remember those humid jungles? Your Lipstick Plant misses that. Dry indoor air, especially in winter with heaters blasting, can be a real challenge for them.
- High Humidity is a Happy Plant: Your Lipstick Plant will absolutely thrive in high humidity, ideally above 50%. You’ll know the air is too dry if the leaf tips start to turn brown and crispy, or if flower buds drop before opening (this is called “bud blast”).
- Easy Ways to Boost Humidity:
- Pebble Tray: Place a layer of pebbles in a shallow tray, add water just below the top of the pebbles, and set your potted plant on top. The evaporating water will create a mini-humid microclimate around the plant.
- Humidifier: For the most consistent humidity, especially in larger rooms, a room humidifier is your best friend.
- Grouping Plants: Plants naturally release moisture into the air. Grouping your Lipstick Plant with other humidity-loving plants can help create a little humid haven.
- Occasional Misting: While misting offers only temporary relief, a light misting of the leaves a few times a week with room-temperature water can be beneficial, especially during dry spells. Just ensure good airflow so water doesn’t sit on the leaves for too long.
Just Right: How Temperature Affects Lipstick Plant Care
Lipstick Plants are tropical at heart, so they love warmth and stability.
- Comfortable Indoor Temperatures: Try to keep the environment between 21-27°C (70-80°F). These are pretty standard indoor temperatures, so it should be happy in most homes.
- Avoid Cold Drafts: Keep your plant away from drafty windows or doors, air conditioning vents, or heating radiators. Sudden blasts of cold or hot air can stress the plant, causing leaves or even flower buds to drop. Anything below 15°C (60°F) is generally too cold for them.
Ground Rules: Soil Requirements
Because they’re epiphytes (meaning they grow on other plants in nature, not directly in soil), their roots need lots of air and excellent drainage.
- Well-Draining & Airy Mix: Forget heavy, dense potting soil. Your Lipstick Plant needs a mix that drains really well and allows for plenty of air circulation around its roots. Think light and fluffy!
- DIY Soil Mix: A great mix would be a general-purpose potting mix combined with ingredients like perlite, orchid bark, or coco coir. A suitable mix could be two parts potting soil combined with one part perlite or orchid bark. This helps prevent soggy conditions, which are the enemy of lipstick plant care.
- Repotting: You’ll likely need to repot your Lipstick Plant every 1-2 years, or when you notice roots growing out of the drainage holes. Spring is the best time. Select a pot just a bit bigger than the current one, ensuring it has adequate drainage holes!
Fueling the Bloom: Fertilizer
To produce all those stunning flowers, your Lipstick Plant needs a little extra energy during its active growing and blooming periods.
- Spring to Fall Feeding: During spring, summer, and early fall (when it’s actively growing and flowering), feed your plant every 2-4 weeks.
- Well-Rounded Liquid Fertilizer: Apply a balanced liquid fertilizer formulated for houseplants. You can even choose one that’s slightly higher in phosphorus, as this nutrient encourages flowering. To prevent root damage, always dilute the fertilizer to half the concentration suggested on the label.
- Winter Rest: During the winter months, when growth slows, stop fertilizing. Your plant needs a rest period.
- Use Fertilizer Sparingly: Excessive fertilizing can cause salt accumulation in the soil, damaging roots and resulting in brown leaf edges.
Shaping and Encouraging Flowers: Pruning
Pruning your Lipstick Plant isn’t just about making it look tidy; it’s vital for getting more of those beautiful blooms!
- Pinch for Bushiness: As your plant grows, you’ll see long vines. To encourage a fuller, bushier growth, gently pinch the stem tips just above a leaf node. This encourages the plant to branch out, creating more places for flowers to form.
- Prune After Blooming: The best time for a more significant prune is after a flush of flowers has faded. Cut back any long, leggy, or sparse vines to encourage new, fuller growth that will produce more blooms.
- Remove Old Growth: Regularly snip off any yellowing, brown, or dead leaves and stems. This helps maintain your plant’s health and keeps it looking vibrant.
- Why Pruning Helps Blooms: Lipstick Plants generally flower on new growth. So, by encouraging new stems through pinching and pruning, you’re essentially creating more opportunities for those glorious “lipstick” flowers to appear! Proper lipstick plant care involves consistent pruning.
Sharing the Love: Propagation
Want to share your Lipstick Plant with friends or just create more plants for yourself? Good news – it’s super easy!
- Stem Cuttings are Your Best Friend: The most popular and effective way to propagate your plant.
- 1. Select a Healthy Stem: Pick a vigorous stem measuring approximately 4-6 inches in length.Make sure it has at least 2-3 sets of leaves.
- Clean it Up: Carefully remove the leaves from the bottom 1-2 inches of the cutting to expose the nodes (the little bumps where roots will form).
- Root in Water: Place the cutting in a jar or glass of room-temperature water. Make sure the nodes are submerged but no leaves are in the water. Place the cutting in a bright area with indirect light. Roots typically start to develop within a few weeks! Be sure to refresh the water every few days to keep it clean.
- Root in Soil: Alternatively, you can plant the cutting directly into a small pot filled with well-draining potting mix (the same kind you use for the mother plant). You can dip the cut end in rooting hormone powder first, though it’s often not necessary. Maintain the soil evenly moist without overwatering, and position the plant in a warm, well-lit area. You can even cover the pot with a clear plastic bag to create a mini-greenhouse effect and boost humidity, which helps with rooting.
- Potting Up: Once the roots are about an inch long (if rooting in water), or if you feel resistance when gently tugging the cutting (if rooting in soil), it’s ready to be planted into its new home.
Common Issues and Troubleshooting in Lipstick Plant Care
Even with the best lipstick plant care, sometimes things go awry. Below are some typical issues and their solutions:
No Flowers!
- Problem: Not enough light is the number one reason.
- Solution: Move your plant to a brighter spot with more indirect sunlight. Ensure it gets some gentle morning sun if possible. Also, check if you’re fertilizing consistently during the growing season.
Flower Buds Dropping (Bud Blast)
- Problem: This is often caused by sudden changes in temperature, low humidity, or inconsistent watering (either too much or too little).
- Solution: Provide stable temperatures, increase humidity, and try to be consistent with your watering schedule.
Yellowing Leaves
- Problem: Usually a sign of overwatering. The roots are suffocating.
- Solution: Let the soil dry out more between waterings. Ensure good drainage. If the soil is really soggy, you might need to carefully check the roots for rot and repot in fresh, dry soil.
Brown, Crispy Leaf Edges
- Issue: The most frequent cause is low humidity, though underwatering can also be to blame.
- Solution: Increase humidity around the plant using a humidifier or pebble tray. Make sure you’re watering consistently when the top inch of soil is dry.
Leggy Growth (Stems are long and sparse)
- Problem: Not enough light.
- Solution: Move your plant to a brighter location. You can prune back the leggy parts to encourage bushier growth.
Pests (Mealybugs, Aphids)
- Problem: Small, white, cottony masses (mealybugs) or tiny green/black bugs on new growth (aphids).
- Solution: Inspect your plant regularly. For minor infestations, gently remove them using a cotton swab soaked in rubbing alcohol. For heavier infestations, treat with an insecticidal soap or neem oil, following product instructions carefully.
Your Path to Lipstick Plant Perfection: A Quick Checklist
To ensure your Lipstick Plant thrives and puts on its best show, keep these simple lipstick plant care tips in mind:
Light:
Provide ample bright, indirect sunlight. A little morning sun is a bonus for blooms.
Water:
Let the top inch of soil dry out, then water thoroughly until water drains from the bottom. Avoid soggy feet!
Humidity:
The more, the merrier! Use a humidifier or pebble tray.
Temperature:
Keep it warm and stable, away from drafts.
Soil:
Use a really well-draining, airy mix.
Food:
Feed lightly during spring and summer to fuel those flowers.
Prune:
Pinch and prune regularly to encourage bushiness and more beautiful blooms. This is essential for successful lipstick plant care.
Share:
Don’t forget how easy it is to propagate cuttings and share the joy!
Conclusion
With a little attention to these specific needs, your Lipstick Plant will reward you with lush, trailing foliage and a spectacular display of those iconic “lipstick” flowers. It’s a journey of rewarding lipstick plant care that brings a touch of tropical vibrancy right into your home. Happy growing, friend!