How to propagate hoya plant?
There is a specific kind of magic that happens when you realize your favorite houseplant can actually become two plants—or ten. If you’ve been collecting Hoyas for a while, you know the feeling: you look at your trailing Hoya plant, and instead of just seeing a beautiful vine, you start seeing potential new babies.

Propagating Hoyas is addictive. It’s the ultimate way to share the love with friends, “backup” a rare variety, or simply fill your home with more of that waxy, green goodness without spending a dime.
However, unlike some plants that you can just toss in a glass of water and forget, Hoyas can be a little particular. If you’ve ever had a cutting turn to mush or sit in a jar for six months without a single root, this guide is for you. Let’s break down exactly how to propagate Hoyas using four different methods, and the one “golden rule” you can never break.
The Golden Rule: It’s All About the Node
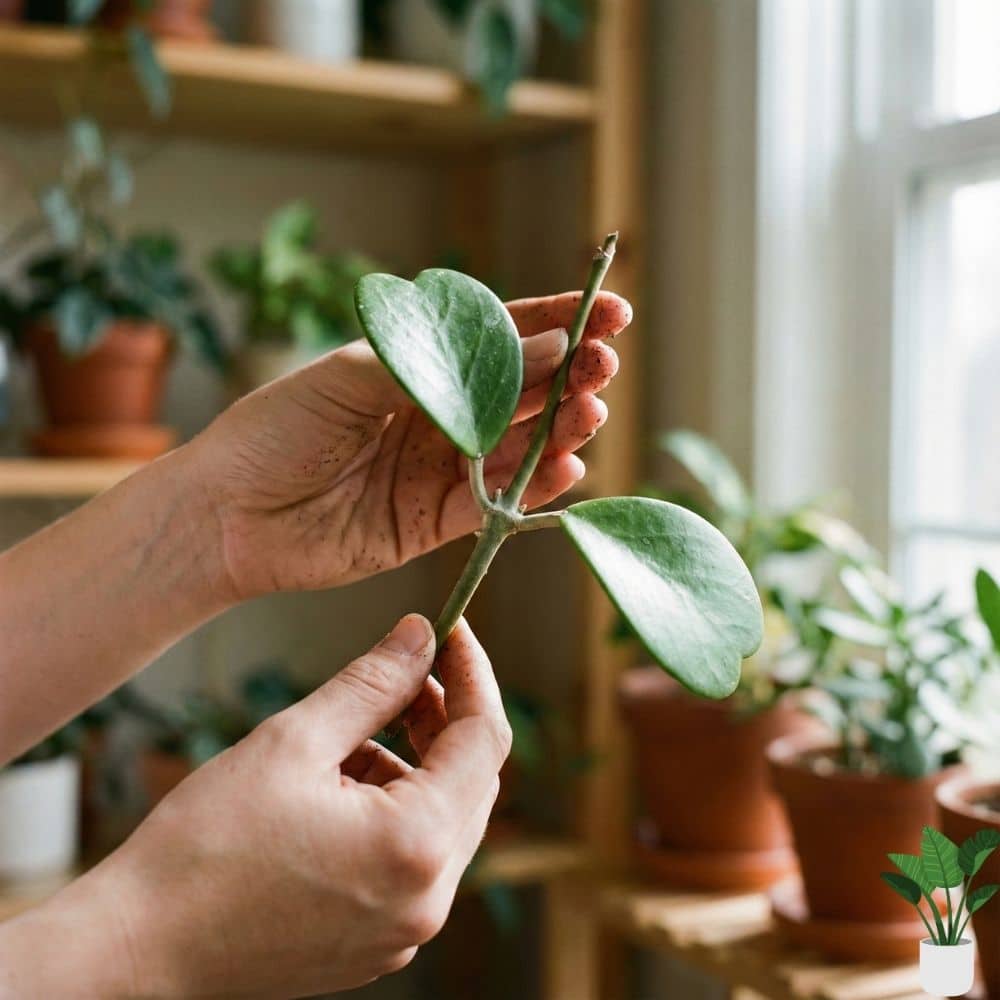
Before you grab your shears, we have to talk about the most important part of Hoya anatomy: the node.
A node is the little bump on the stem where the leaves emerge. This is where the plant’s “growth cells” live. If you take a cutting of just a stem or just a leaf (without a piece of the stem), you will likely fail.
As we discussed in our [ https://easylandscare.com/encyclopedia-hoya-heart-plant/ ] guide to the Hoya Heart plant, a leaf might grow roots, but without a node, it will never grow a vine. Always ensure your cutting has at least one node—though two is even better for success.
When is the Best Time to Propagate?
While you can propagate year-round if you have grow lights and a warm home, Hoyas are children of the tropics. They do their best work in the Spring and Summer. During these months, the plant is in its active growth phase, meaning it has more energy to spend on pushing out new roots.
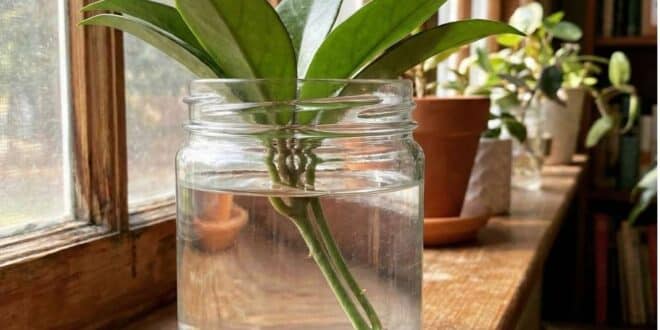
Method 1: Water Propagation (The Beginner Favorite)

Water propagation is the “see-through” method. It’s incredibly satisfying because you can watch the roots grow in real-time.
How to do it:
- Snip: Take a 4-6 inch cutting with at least two nodes. Remove the bottom leaves so the node is bare.
- Dry: Let the cutting “callous” for about 20-30 minutes. This prevents the open “wound” from rotting immediately in the water.
- Submerge: Place the cutting in a glass of room-temperature water. Ensure the bare node is underwater, but the remaining leaves are above it.
- Wait: Place the jar in a spot with bright, indirect light. Make sure to change the water once a week so it remains fresh and full of oxygen.
Pro Tip: Once the roots are about 1-2 inches long, it’s time to move them to soil. If you leave them in water too long, the roots become “water roots” and have a harder time adjusting to dirt later.
Method 2: Sphagnum Moss (The Collector’s Secret)

If you ask serious Hoya collectors, many will tell you that damp sphagnum moss is the “gold standard.” It provides the perfect balance of moisture and airflow (oxygen), which Hoyas love.
How to do it:
- Soak your moss in water, then squeeze it out until it’s just damp—like a wrung-out sponge.
- Place the moss in a clear plastic cup or a “prop box” (a clear plastic tupperware).
- Tuck your Hoya cutting into the moss, making sure the node is in direct contact with the damp fibers.
- Cover the container to keep the humidity high.
This is especially effective for narin species like the Hoya Bella, which hates drying out.
Method 3: Perlite or Lechuza Pon (The Clean Method)

If you are worried about rot or pests, using an inorganic medium like perlite or “Pon” is a fantastic alternative. These stones provide massive amounts of oxygen to the roots while wicking up just enough water to keep the plant hydrated.
How to do it:
- Fill a cup with perlite or Pon.
- Add water until it fills about 1/3 of the cup.
- Place your cutting in the stones. The water at the bottom creates a “reservoir” that keeps the medium humid without drowning the stem.
Method 4: Soil Propagation (The Direct Approach)
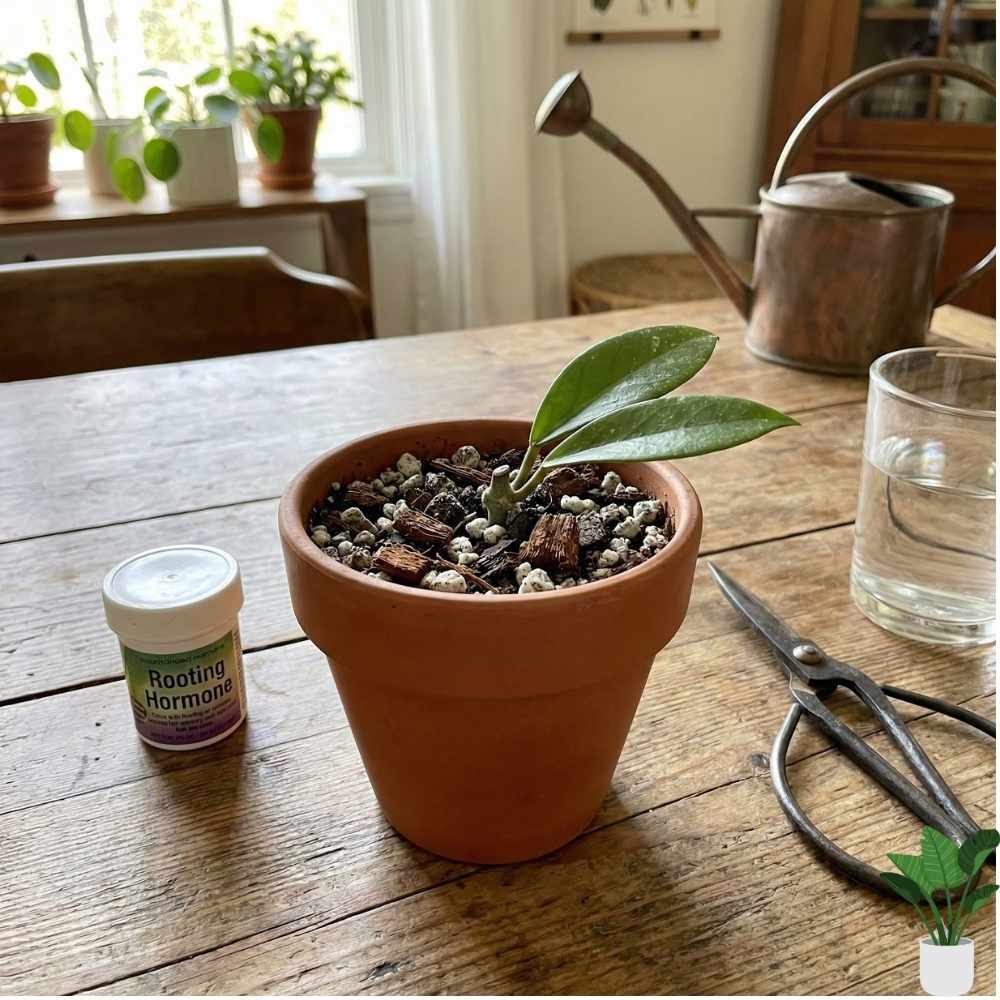
This is the “set it and forget it” method. It’s less work, but you can’t see the roots, which can be nerve-wracking for some.
How to do it:
- Use a very airy mix (check out our [ https://easylandscare.com/hoya-plant-care/ ] Hoya care guide for the perfect soil recipe).
- Dip the end of your cutting in rooting hormone (optional, but helpful).
- Plant it directly into a small pot.
- Keep the soil slightly more moist than you would for a mature Hoya until you see new growth.
Post-Propagation: The “Now What?” Phase

Once your cutting has established roots (usually 3-6 weeks), it’s time to treat it like a real plant.
- Don’t Rush the Repot: Hoyas actually like being a little cramped. Keep your new baby in a small pot for the first year.
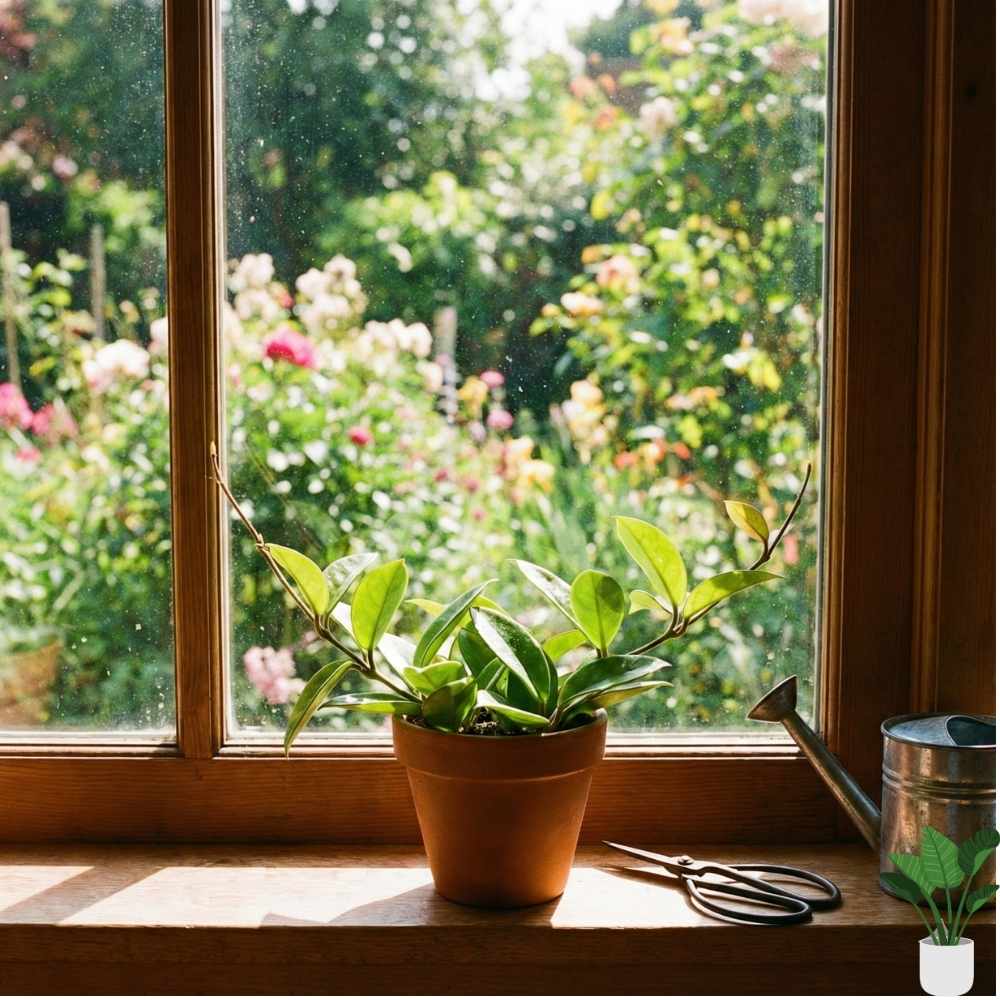
- Light is Life: Cuttings need energy to grow. Keep them in a bright spot, but away from harsh, direct sun that could cook the delicate new roots.
- Be Patient: Some species, like the [ https://easylandscare.com/plant-encyclopedia-hoya-obscura/ ] Hoya Obscura, will start growing vines almost immediately. Others, like the [ https://easylandscare.com/plants-encyclopedia-hoya-rope-plant/ ] Rope Plant, might sit there looking at you for months before doing anything. That’s just the Hoya life!
Common Troubleshooting: Why is my cutting dying?

| Problem | Likely Cause | The Fix |
| Stem is mushy and brown | Root rot (too much water/no airflow) | Cut away the mush, let it callous longer, and try a drier medium like perlite. |
| Leaves are shriveling | Not enough humidity or water | If in moss/soil, increase humidity with a bag or dome. If in water, ensure the node is submerged. |
| No roots after 2 months | Not enough light or warmth | Move to a warmer spot or use a heat mat. Cuttings need “spring vibes” to wake up. |
| Leaves turning yellow | Too much direct sun | Move the cutting back into indirect, filtered light. |
Frequently Asked Questions (FAQ) about Hoya Propagation
1. Can you propagate a Hoya from a single leaf?
Technically, yes, it will grow roots. However, unless that leaf has a tiny piece of the stem (a node) attached, it will likely never grow into a vine. It will stay a “zombie leaf” forever.
2. Do I need rooting hormone?
It’s not strictly necessary, as Hoyas are quite good at rooting on their own, but it can speed up the process and help prevent rot.
3. How long does it take for a Hoya cutting to root?
It depends on the species and the environment. Usually, you’ll see the first tiny roots in 2 to 4 weeks, but it can take up to 2 months for some slower varieties.
4. Should I propagate in a closed container?
“Prop boxes” (closed clear containers) are excellent because they trap humidity. Just make sure to open the lid every few days to let fresh air in, or you might encourage mold.
5. What is the easiest Hoya to propagate?
Hoya carnosa and Hoya pubicalyx are the champions of propagation. They are very hardy and root quickly in almost any medium.
Final Thoughts for Your Hoya Journey
Propagating Hoyas is a lesson in patience and observation. Not every cutting will make it, and that’s okay—it’s part of the learning process. The more you practice, the more you’ll develop a “feel” for what your plants need.
Soon, you’ll have enough Hoya babies to fill every windowsill in your house, and maybe even enough to start trading with other collectors! Happy growing!