
A Good Choice: Boston Fern (Sword Fern)
Hello there! Are you thinking about bringing a Boston Fern into your home? That’s a fantastic idea! They are a true classic for a reason. With their lush, feathery fronds and a natural, graceful arching shape, they can make any space feel a little more like a peaceful, green oasis. While they have a reputation for being a bit particular, I’m here to tell you that mastering boston fern care is all about understanding a few simple things. Once you get it right, you’ll have a gorgeous, thriving plant that will be the envy of your friends. Let’s get into it, shall we?
Why You’ll Love Having a Boston Fern
The Boston Fern, scientifically known as Nephrolepis exaltata ‘Bostoniensis’, is a variety of sword fern and one of the most popular houseplants in the world. Its dense, cascading fronds of tiny green leaflets have graced homes, porches, and patios for generations. In addition to its enduring beauty, the Boston Fern serves as an effective air purifier, making it both attractive and highly beneficial.
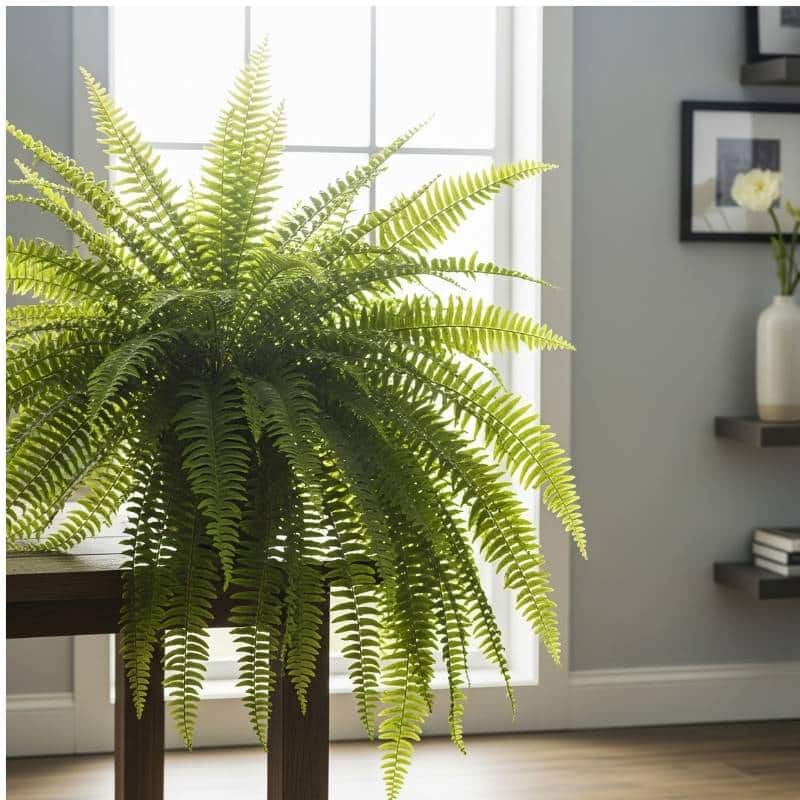
If you’re looking to add a touch of natural elegance and clean air to your home, this is the plant for you. It loves to be hung from the ceiling, placed on a tall stand, or even just sitting on a table where its beautiful fronds can trail. Getting your head around boston fern care is the first step to enjoying this wonderful plant. Caring for it is a fulfilling experience that introduces a timeless, vibrant green beauty to your home.
The Right Light: Not Too Much, Not Too Little
Think about where ferns grow in nature – on the forest floor, under a canopy of trees. They get plenty of light, but it’s filtered and dappled, not direct and harsh. That’s exactly what you want to replicate for your Boston Fern at home.
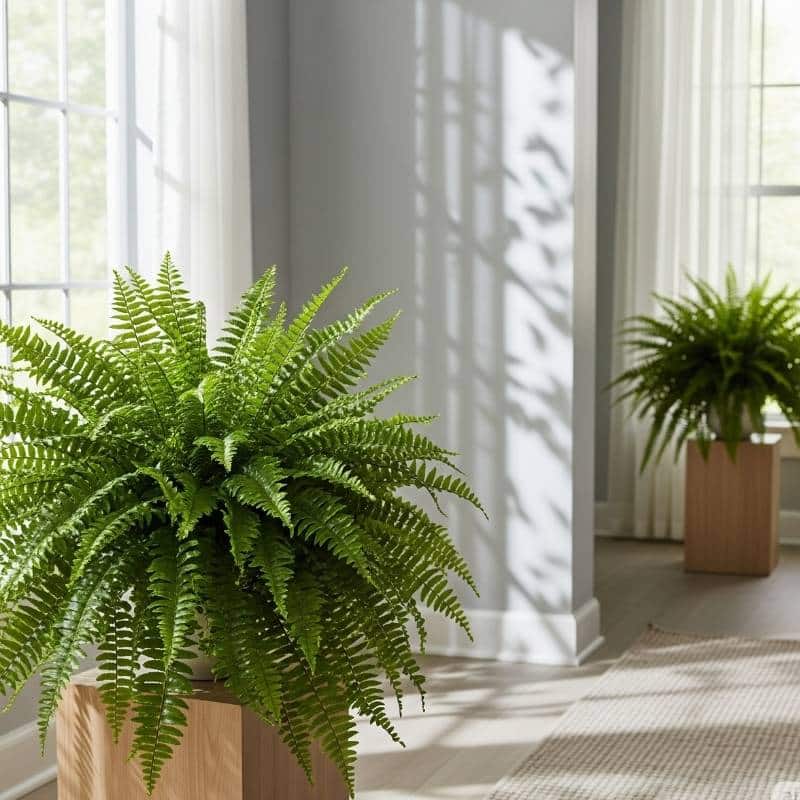
- Optimal Lighting: Bright, indirect light provides the ideal conditions.Place your fern near a window where it gets lots of light, but the sun’s rays don’t hit the fronds directly. A window facing north or east is typically ideal.
- Afternoon Sun is the Enemy: A south- or west-facing window can be too much for a Boston Fern. The harsh afternoon sun can easily damage its fragile fronds, causing them to become brown and brittle. If a south-facing window is your only option, make sure the plant is several feet away or shielded by a sheer curtain.
- Too Little Light? If your fern isn’t getting enough light, its growth will become slow and sparse, and the fronds might look pale. The key to successful boston fern care is all about finding that ideal balance of light.
The Watering Dance: Keeping Things Just Right
This is probably the most crucial part of boston fern care. Boston Ferns love moisture. They are not drought-tolerant plants, and they will let you know it!
- Keep the Soil Consistently Moist: The soil of your Boston Fern should feel like a well-wrung-out sponge – moist but not soggy. Don’t let the soil dry out completely. If you do, the fronds will quickly turn brown and start to drop.
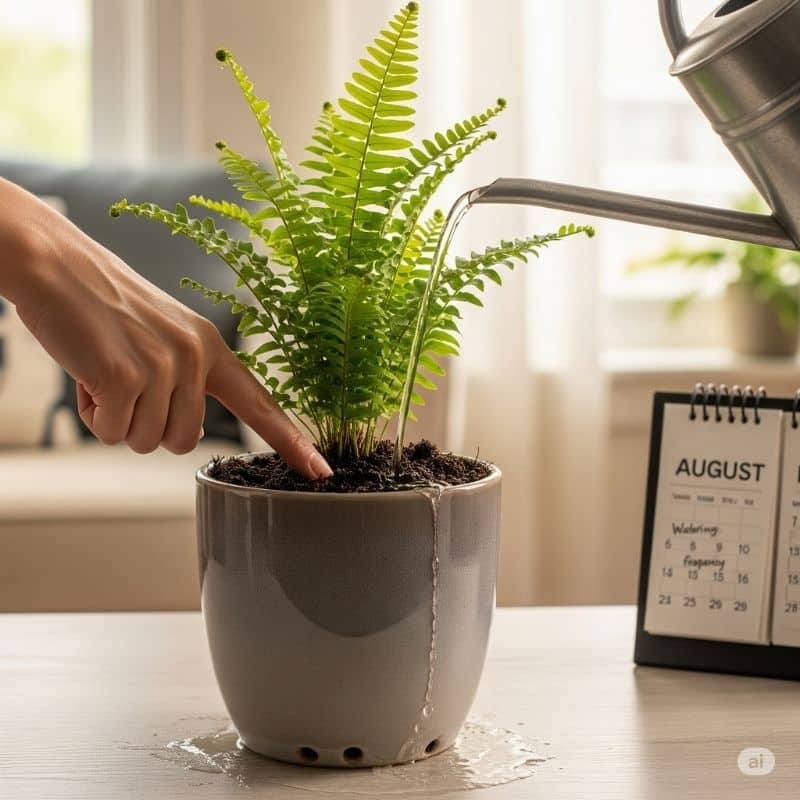
- Feel the Soil: The most effective way to determine when to water is by checking the soil with your finger. If the top inch feels dry, it’s time to water. If it’s still moist, wait a day or two and check again.
- Water Thoroughly: When it’s time to water, give your plant a good soak. Water slowly and evenly over the soil until you see water draining out of the holes at the bottom of the pot.
- Mind the Seasons: Your Boston Fern will need more frequent watering during the warmer, longer days of spring and summer when it’s actively growing. In the fall and winter, as growth slows down, you can cut back on watering.
A Steamy Secret: Humidity is Everything
This is the big one! Boston Ferns are native to humid, subtropical forests, so they absolutely thrive in moisture-rich air. This is the single most common reason why people struggle with boston fern care.
- High Humidity is a Must: Your fern will be happiest in humidity levels of 50% or more. If your home’s air is dry (which it often is, especially with heating and air conditioning), your Boston Fern will start to protest by developing brown, crispy tips on its fronds.
- Easy Ways to Boost Humidity:
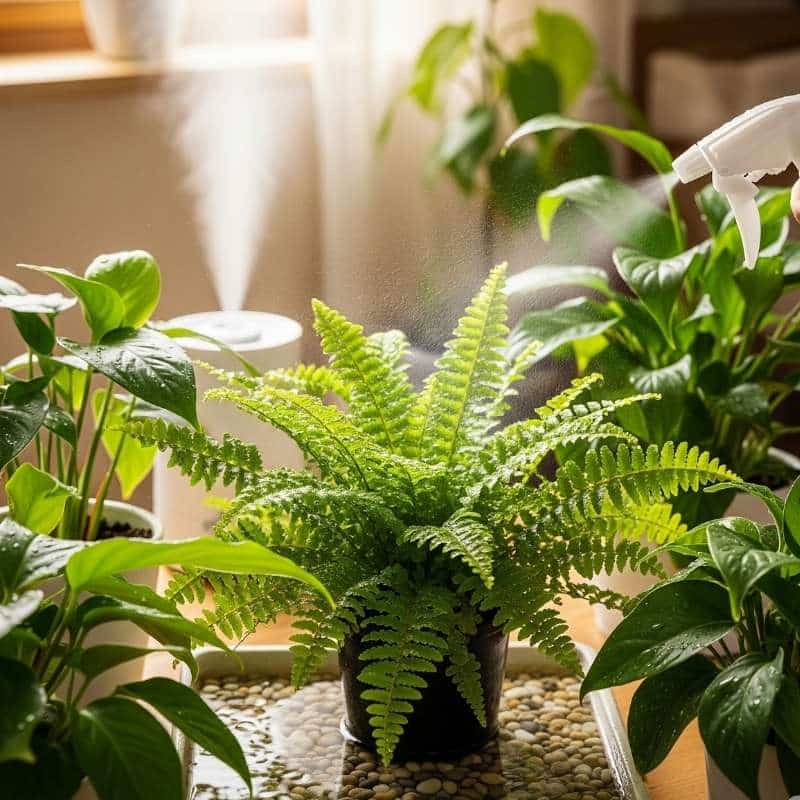
- Misting: Give your plant a light misting with a spray bottle of room-temperature water every day or two. This is an easy and effective method, and your fern will thank you for it!
- Pebble Tray: Place a shallow tray of pebbles under your pot and fill it with water. As the water evaporates, it creates a humid microclimate right around the plant. Just make sure the bottom of the pot is sitting on the pebbles and not in the water itself.
- Grouping Plants: Plants naturally release moisture into the air. Grouping your Boston Fern with other houseplants can create a little humid community.
- Humidifier: For the most consistent and effective humidity boost, especially in a dry room, a room humidifier is an excellent investment. This is an important step in making sure your boston fern care routine is successful.
The Right Environment: Temperature and Soil
- Temperature: Your Boston Fern will be happiest in typical indoor temperatures between 18-24°C (65-75°F). It’s not a fan of cold, so keep it away from drafty windows or doors, especially in winter.
- Soil: Ferns prefer a rich, well-draining potting mix. A good quality potting mix that’s a little bit peat-based is a great choice. The soil should hold moisture without getting waterlogged, which is a delicate but crucial balance for successful boston fern care.
Feeding Your Fern: A Little Goes a Long Way
Boston Ferns are not heavy feeders. Too much fertilizer can actually burn their delicate fronds.
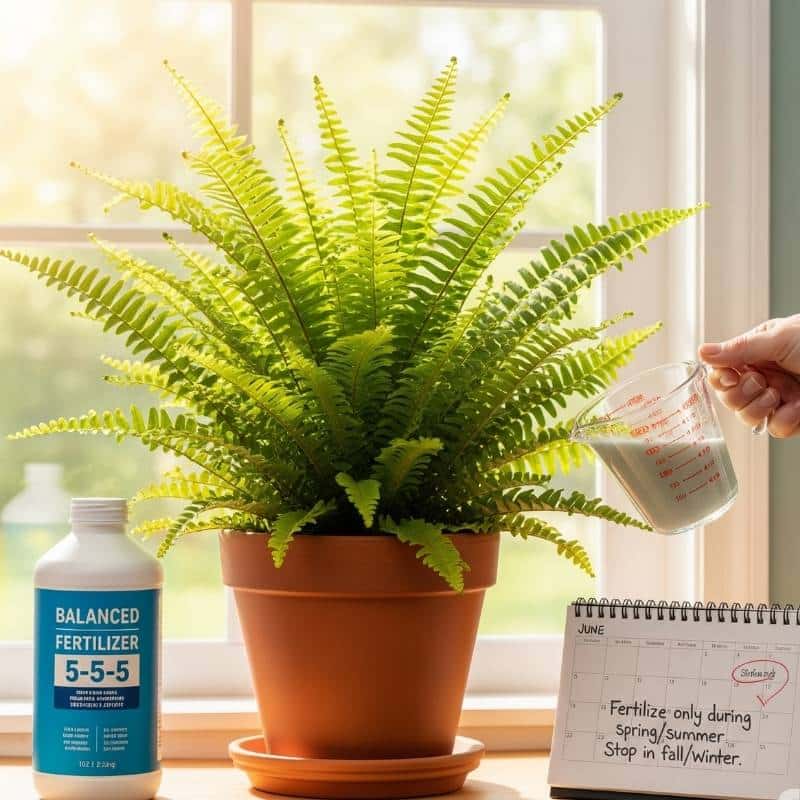
- Spring and Summer Only: You should only fertilize your Boston Fern during its active growing season in the spring and summer.
- Diluted Liquid Fertilizer: Use a balanced liquid houseplant fertilizer. The key is to dilute it to half the strength recommended on the package.
- Frequency: Feed it once a month during the growing season. That’s all it needs! Discontinue fertilizing entirely during the fall and winter months.
Grooming and Pruning: Keeping it Tidy
Over time, you’ll notice some of the outer fronds of your Boston Fern turning yellow or brown. This is a normal part of the plant’s life cycle.
- Trim the Brown Fronds: To keep your plant looking lush and healthy, use a clean pair of scissors to snip off any fronds that have turned completely brown or yellow. Trim them as close to the plant’s base as possible.
- Remove Dropping Leaves: If you find little brown leaves dropping from your fern, don’t worry too much. This is also normal. Just give it a gentle shake to remove the loose, dead leaves and keep things tidy.
Repotting and Propagation

- Repotting: Boston Ferns don’t need to be repotted very often. You can usually repot them every 2-3 years, or when you notice that the roots have completely filled the pot. Spring is the best time to repot.
- Propagation: The simplest method to propagate a Boston Fern is through division. When you repot, you can gently pull the plant apart into a couple of smaller clumps, making sure each clump has plenty of roots and fronds. You can then pot these up into their own containers. Another way is through the long, slender runners (stolons) that the plant sends out. These can be pinned down onto the soil of a new pot, and once they root, you can snip them from the mother plant. This is a great way to expand your collection and is part of the fun of boston fern care.
Help! Common Issues and Troubleshooting
Even with the best boston fern care, problems can pop up. Here’s what to do:
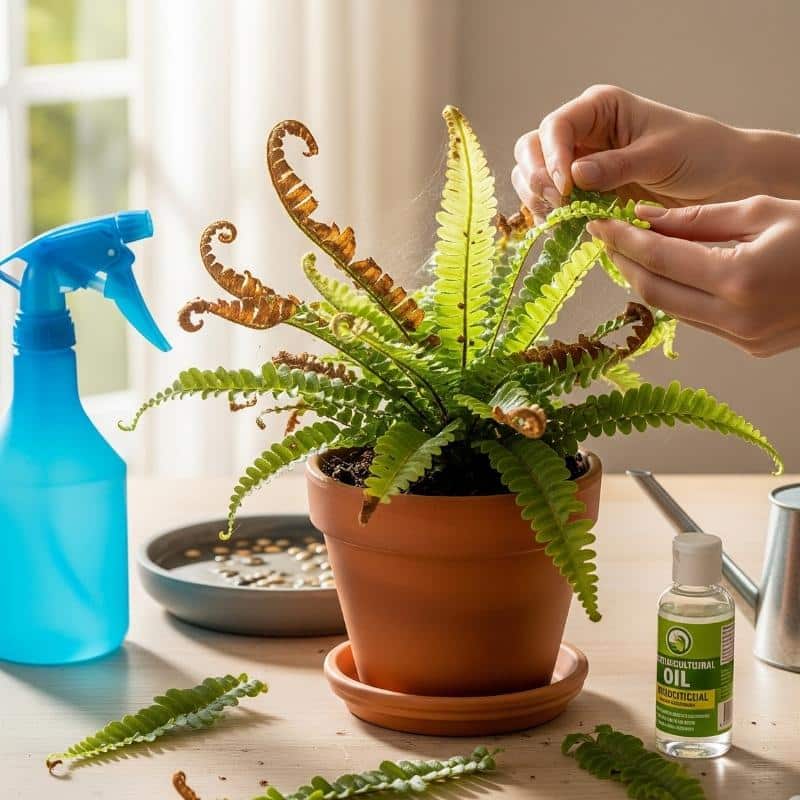
- Brown, Crispy Fronds: This is almost always a sign of low humidity or underwatering. Give your fern a good soak, and then start a daily misting routine or set up a pebble tray to boost humidity.
- Dropping Leaves: If the fronds are turning yellow or brown and dropping a lot of little leaves, the plant is likely too dry. You need to water it more consistently.
- Pale Green Fronds: This can be a sign that the plant is getting too much direct light. Move it a little further away from the window.
- Pests (Spider Mites, Scale): Check the fronds regularly for tiny spider webs or small brown bumps. These pests can be an issue, especially in dry environments. Misting your plant regularly can help prevent them. For an infestation, you can use a horticultural oil or insecticidal soap, following the product directions carefully. Proper boston fern care includes being on the lookout for these pests.
Your Quick Checklist for Perfect Boston Fern Care
- Light: Find a spot with bright, indirect light. No harsh, direct sun!
- Water: Maintain the soil consistently moist, but avoid making it waterlogged.
- Humidity: This is key! Mist daily, or use a pebble tray or humidifier.
- Temperature: Keep it in a cozy, warm spot away from drafts.
- Food: Fertilize once a month during spring and summer with a diluted liquid fertilizer.
- Grooming: Trim away any brown or yellow fronds to keep it looking tidy.
- Patience: Your Boston Fern is an elegant, beautiful plant that will thrive for years with just a little understanding of its needs. This is the ultimate goal of effective boston fern care.
By keeping these tips in mind, you’ll find that boston fern care is a rewarding experience. You’ll be rewarded with a lush, full plant that adds a touch of classic beauty and clean air to your home. Happy growing!
The Boston Fern is also one of the plants we recommend in our article;
“Dark Academia & The Greenhouse: 18 Plants for a Moody, Intellectual Vibe.”
“The Bohemian Plants: 20 Plants to Perfect Your Boho-Chic Decor.”
Click the article titles to read more.